4 Tips on How to Properly Shave Your Cat
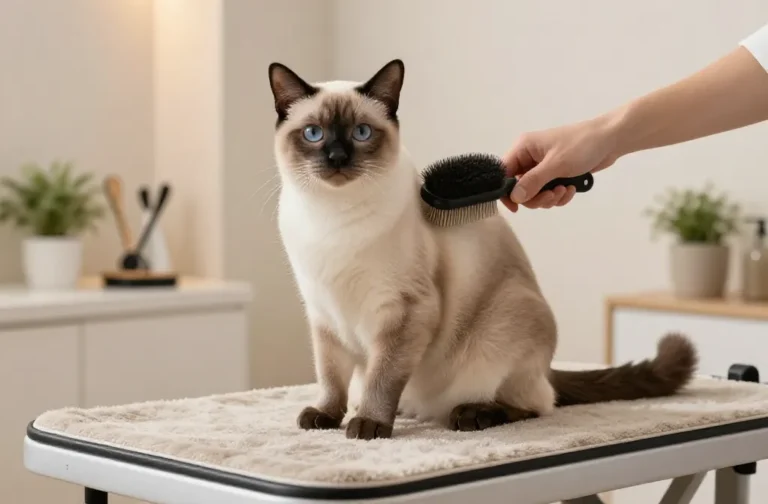
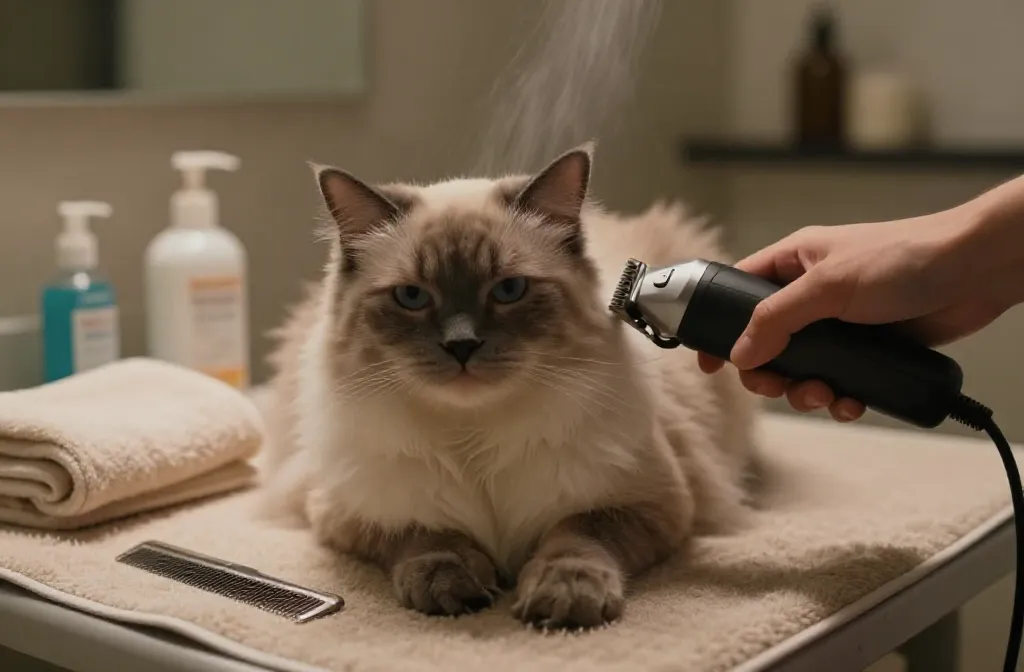
Shaving a cat sounds daunting, but it doesn’t have to be chaotic. These four tips help you get a smooth, safe shave while keeping your kitty calm and comfy. FYI, patience beats pressure every time.
1. Prep Like a Pro: Set the Stage for Safe Shaving
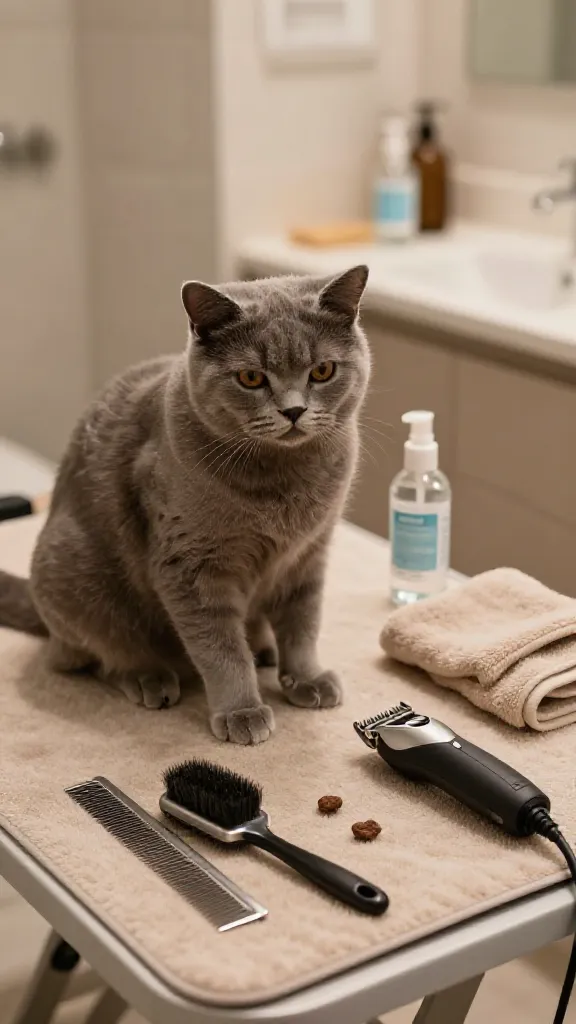
Preparation is everything when you’re dealing with a furry, twitchy patient. A calm environment and the right tools make the process smoother for both of you.
What to Gather
- Gentle cat-safe clippers or a vacuum-equipped shaver
- Short, stainless-steel comb and grooming brush
- Soft towel and a non-slip mat
- Pet-safe antiseptic wipes and a small spray bottle with warm water
Lay out tools within reach and dim the lights a bit to reduce stress. Have treats handy for reward moments and to keep your cat from bolting mid-shave. Seriously, a little positive reinforcement goes a long way.
Benefits: reduces movement, minimizes nicks, and makes the session feel like a spa day rather than a trap.
2. Choose the Right Tools and Techniques
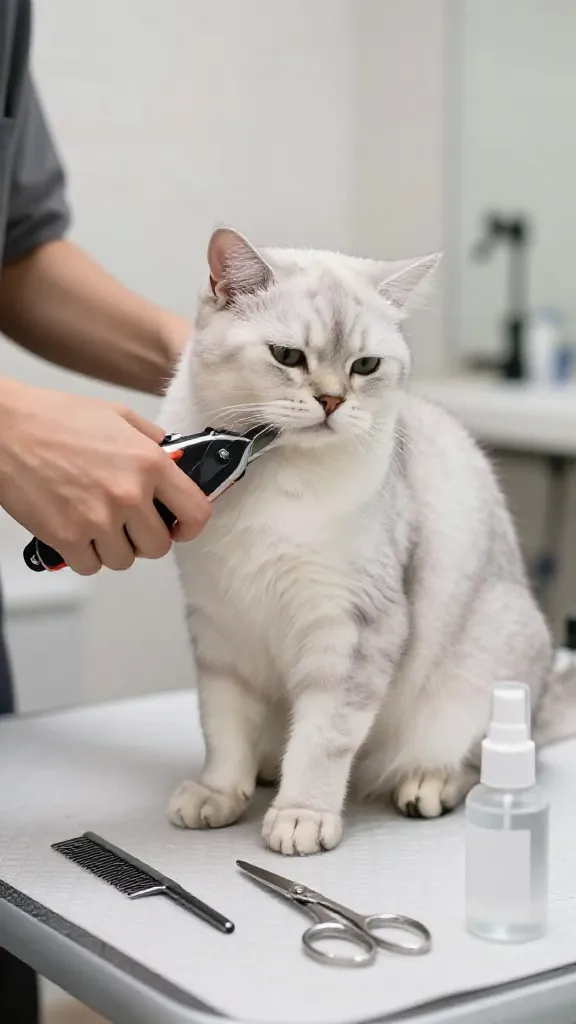
Using the wrong tool can turn grooming into a battle. Pick gear designed for delicate feline skin and learn a gentle technique that respects your cat’s comfort zones.
Tool Tips
- Detachable blade clippers with a low-noise motor
- Guard combs to control hair length and prevent skin contact
- Curved scissors for precision trimming around the belly and legs
- Antistatic spray or a light mist of water to reduce static
Technique matters more than force. Keep the clipper head parallel to the skin, move slowly, and never press hard. If you hear distress sounds, pause, soothe, and try again later. Trust me, your cat will thank you with a purr later.
Benefits: cleaner lines, less risk of cuts, and a happier cat who associates grooming with safety.
3. Start with the Easiest Zones and Work Gradually
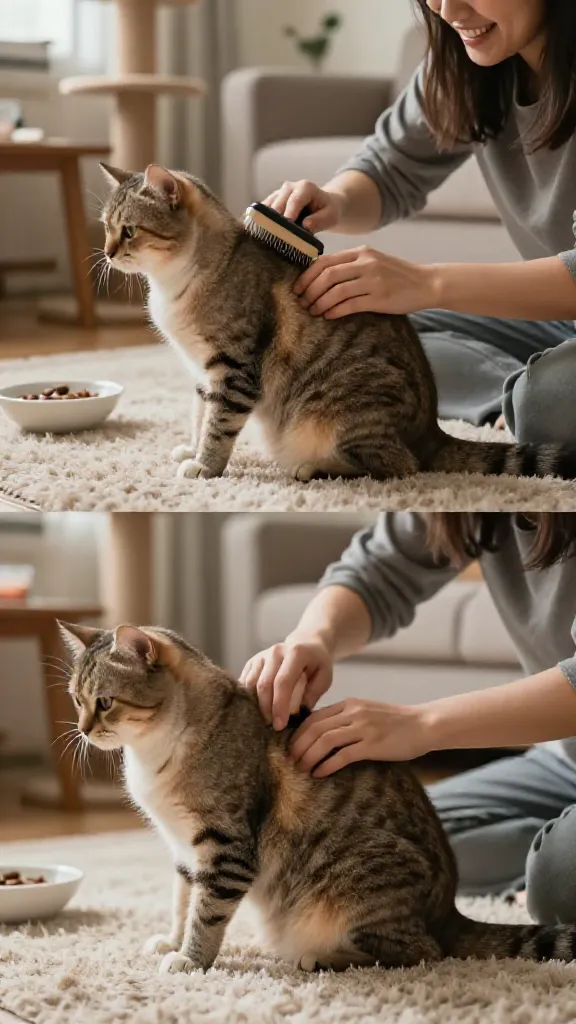
Jumping straight to sensitive spots triggers anxiety. Start where your cat feels most comfortable and gradually expand as trust builds.
Step-by-Step Progression
- Begin with the back midsection where fur is thick but movement is easier to manage
- Move to the sides and hindquarters in short passes
- Save the belly, armpits, and armpit folds for last
Tips for calm sessions: short bursts (2–5 minutes), frequent breaks, and offering a favorite treat at the end of each successful pass. FYI, stopping early is better than forcing a longer session that ends in a meltdown.
Benefits: less stress for your cat, more consistent results, and training wheels toward longer grooming sessions over time.
4. Safety First: Watch for Red Flags and Aftercare
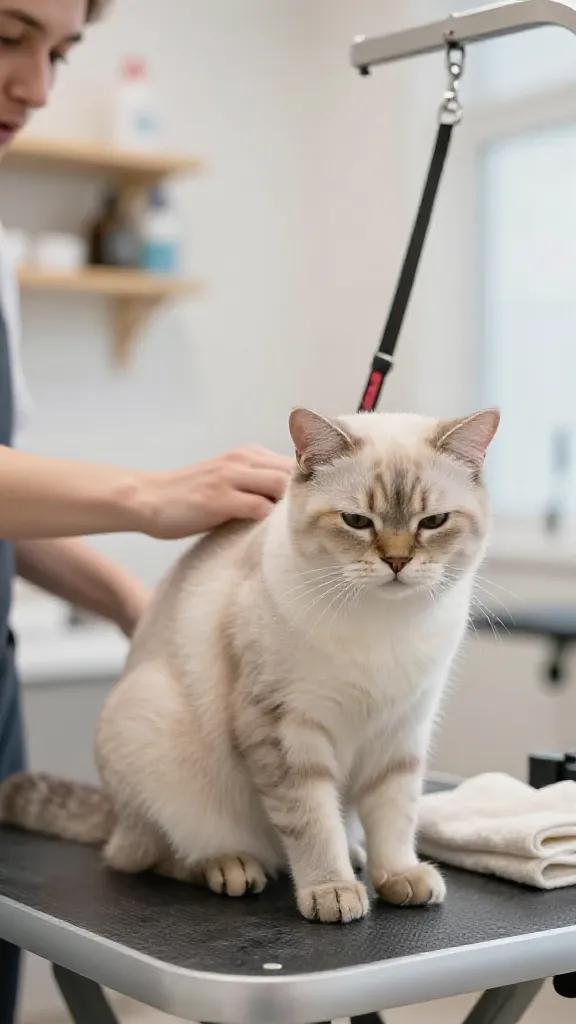
Even with the best setup, things can go sideways. Knowing warning signs and how to finish safely protects both of you and reinforces good habits for future grooming.
Red Flags to Pause
- Skin redness, swelling, or open sores
- Repeated coughing, gagging, or heavy panting during clipping
- Excessive whisker twitching or hissing that signals high stress
If you encounter any of these, stop, soothe with stroke-and-talk, and reassess. Consider seeking a vet or a professional groomer for a lesson or help next time. Aftercare matters too—gentle patting, a warm towel wipe-down, and a cozy post-groom nap.
Benefits: reduces injury risk, builds lasting trust, and keeps grooming from becoming a dreaded routine.
Ready to give it a try? With the right prep, tools, gradual approach, and safety mindset, you’ll both survive—and maybe even enjoy—cat shaving day. Trust me, your feline pal will appreciate the calm, clean finish and the extra spoils that come after.