7 Cat Nail Trimming Tips for Beginners You Can’T Miss
So you’ve got a cat and a pair of clippers. Let’s turn that fear into confidence with seven practical tips that keep nails neat and your cat stress-free. You’ll be surprised how doable trimming can be when you approach it like a tiny training session.
1. Read Your Cat’s Cues Before You Clip

First thing: know your cat’s mood. If they’re tense, patience beats force every time. This tip is the foundation because calm pets make clean trims.
What to look for:
- Relaxed body language: soft ears, slow breathing, minimal squirming
- Appropriate time: after play or a meal when they’re a bit sleepy
- Low-stress environment: a familiar spot with a comfy towel or blanket
By tuning into these signals, you’ll reduce drama and make the session shorter. FYI, a calm cat trims more nails with less resistance, seriously.
2. Gather the Right Tools (And Learn What Each One Does)
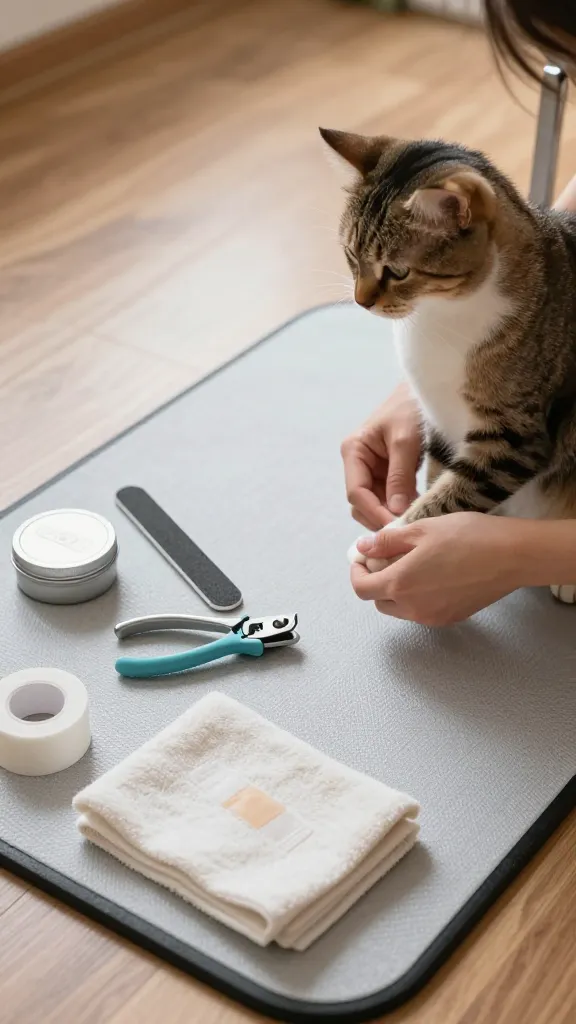
Having the right gear is half the battle. A confident setup makes trimming smoother and safer for both of you.
What you’ll want:
- Cat nail clipper or guillotine cutter (avoid human clippers)
- Nail file or emery board for smoothing
- Pet-safe styptic powder or a clean cloth for quick stop-and-go stops
- Soft towel or grooming mat to secure your cat
Set up everything within arm’s reach, so you don’t disrupt the zen during the trim. Trust me, preparation saves you from a thousand “oops” moments.
3. Start with Short, Positive Sessions (Two Nails, Then a Break)

This isn’t a sprint; it’s a tiny training session. Begin with tiny wins to build confidence for both of you.
How to pace it:
- Clip just 1–2 nails per session to start
- Offer a treat or a lot of praise after each successful clip
- Take a short break if your cat starts showing stress signals
After a few sessions, gradually increase to more nails in a safe, calm window. Short bursts protect you from mistakes and create a positive association with nail care.
4. Learn the Quick Anatomy: Where Not to Clip
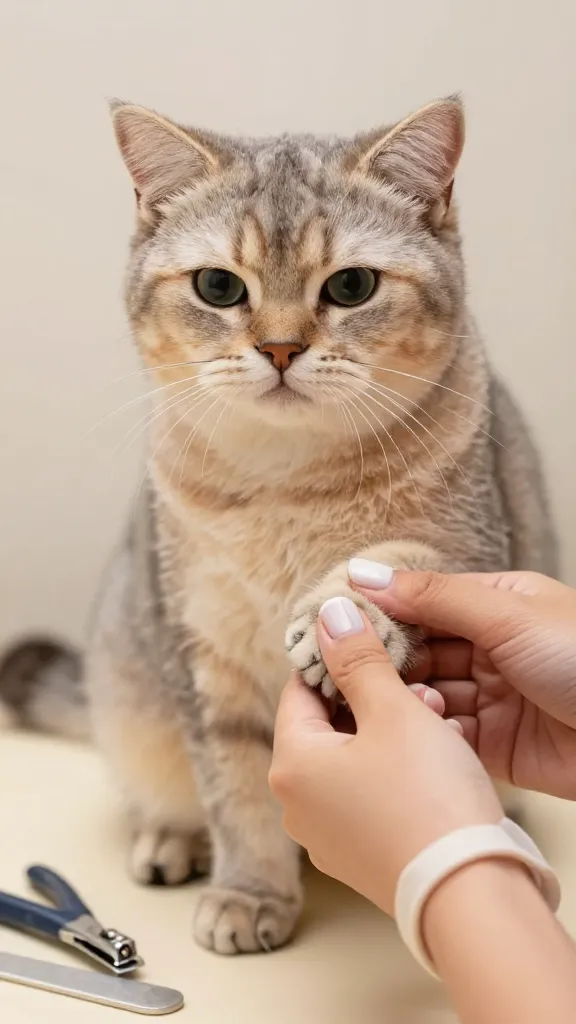
Knowledge prevents scary accidents. You’ll thank yourself for knowing the sensitive part called the quick.
Guidelines:
- Only clip the clear part of the nail to avoid hitting the quick
- Stop clipping if you see a pinkish area or a lot of dotting; that’s the quick
- If nails are dark and you can’t see the quick, clip tiny bits at a time and file
When in doubt, clip less and file more. Your future self will appreciate the extra seconds you spared.
5. Create a Calm, Safe Clip Routine

Rituals help both of you relax. A steady routine makes nail trimming predictable and less nerve-wracking.
Try this sequence:
- Warm up with gentle paw massages for 30 seconds per paw
- Place the cat on a towel on a stable surface and secure lightly
- Clip a nail, then offer a treat and some soft petting
Consistency reduces anxiety over time, and your cat will start to anticipate the positive outcome rather than dread the seconds before clipping.
6. Use Gradual Systems: Reward, Not Pressure
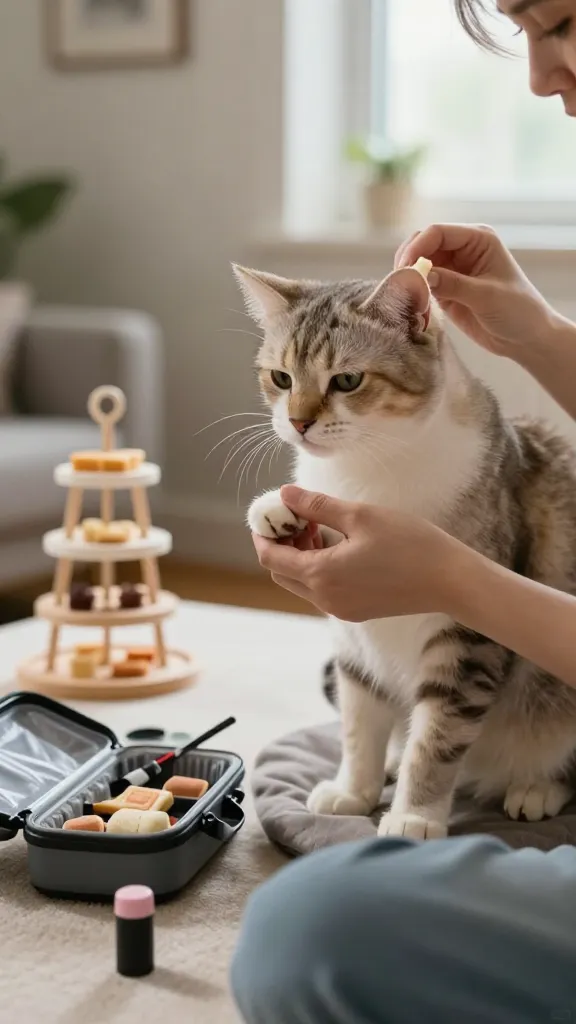
Positive reinforcement beats scolding any day. Set up a reward ladder that reinforces calm behavior and successful trims.
Try this approach:
- Always end with a favorite treat or playtime
- Use a clicker if your cat responds well to cues (simple: clip = treat)
- Keep sessions upbeat; avoid chasing or forcing when resistance shows
This method turns trimming into a game your cat enjoys. IMO, it’s the secret sauce for repeat success without the dramatic dramatic moments.
7. Know When to Call a Pro (And Why You Should Still Try First)

There’s no shame in seeking help. A quick consult with a vet or a professional groomer can save you stress and nail emergencies.
What to consider:
- If nails are deeply curved or ingrown, a pro should handle it
- For cats with severe anxiety, a groomer may offer sedation options or desensitization plans
- Ask for a demo so you can replicate the technique at home later
Getting a pro’s guidance doesn’t mean you’re failing—it means you’re investing in your cat’s comfort and safety. Seriously, a quick session can set you up for months of confident trimming at home.
Ready to put these tips into action? Start small, stay patient, and celebrate every little nail you trim. You’ve got this, and your cat will thank you with calmer evenings and cleaner paws.