7 Tricks for Clipping Dog Nails at Home Safely You’Ll Love
These seven hacks turn a dreaded chore into a quick, calm routine. You’ll master nails without chaos, FYI.
1. Prep Like a Pro: Create a Calm Nail Zone
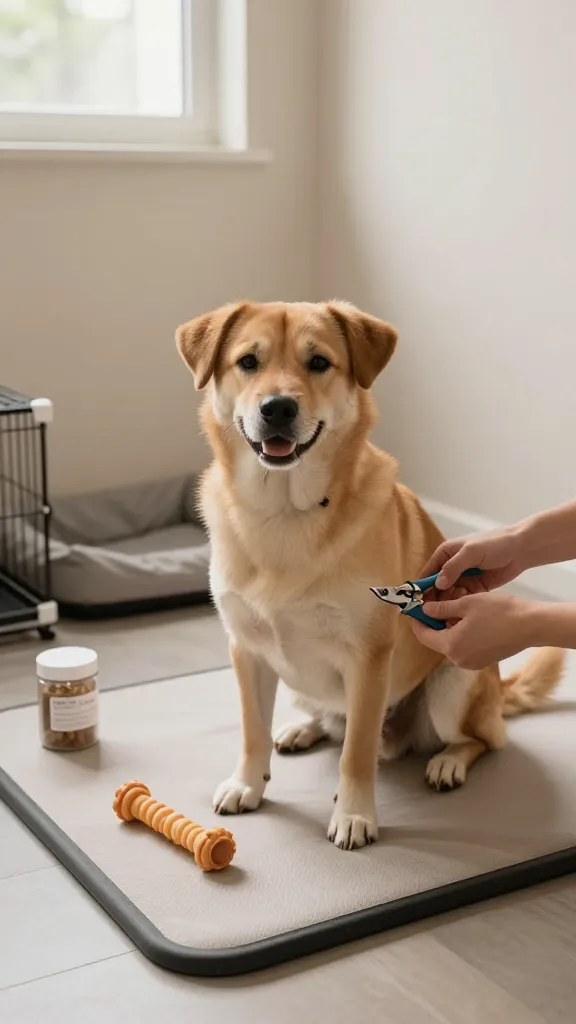
Setting the stage matters as much as the scissors. A focused space reduces drama and keeps your pup in a good mood.
Key Elements
- Quiet room or crate corner
- Non-slip mat for paw stability
- Pet-safe treats and a squeaky break item
TIP: A few minutes of sniff-and-stay before clipping helps your dog relax. Trust me, it saves you from wrestle-town later.
2. Choose the Right Tools: Clippers That Don’t Cringe the Pup
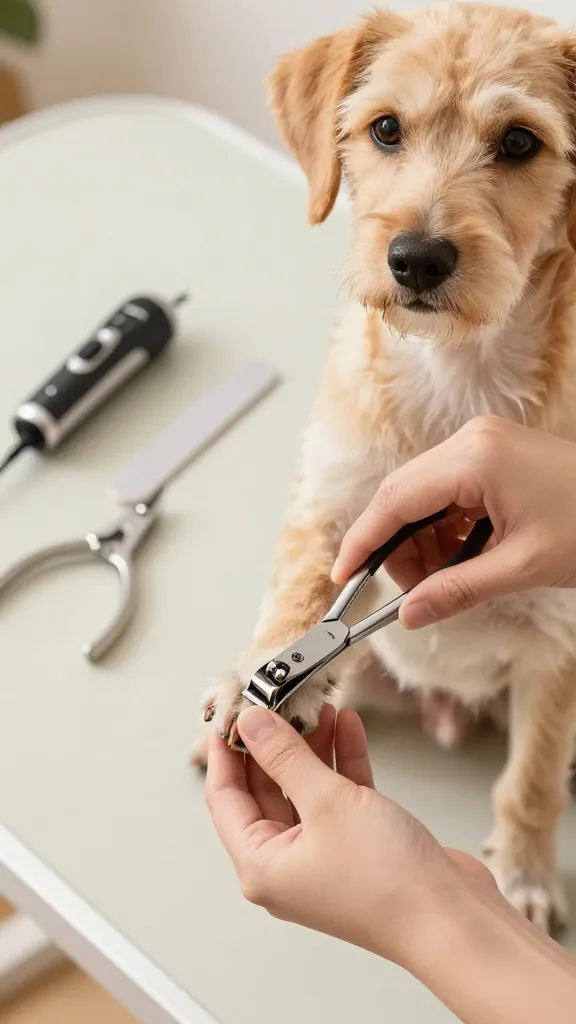
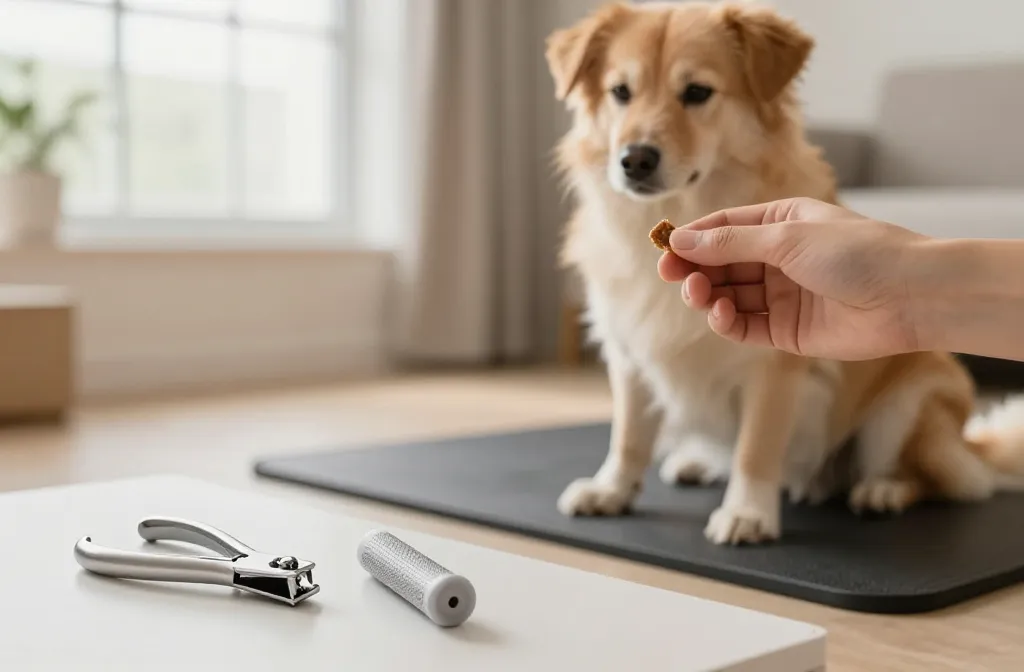
Not all clippers are equal. Sharp, well-made tools save you time and minimize nail-crunching surprises.
What to Grab
- Guillotine or guillotine-style clippers
- Optional dremel or nail grinder for finishing
- Soft nail file for quick smoothing
FYI, dull blades grind and yank. No one wants that. Pick quality, and your dog will thank you with easier sessions.
3. Learn the Quick, Safe Zone: Avoid the Quick Like a Pro
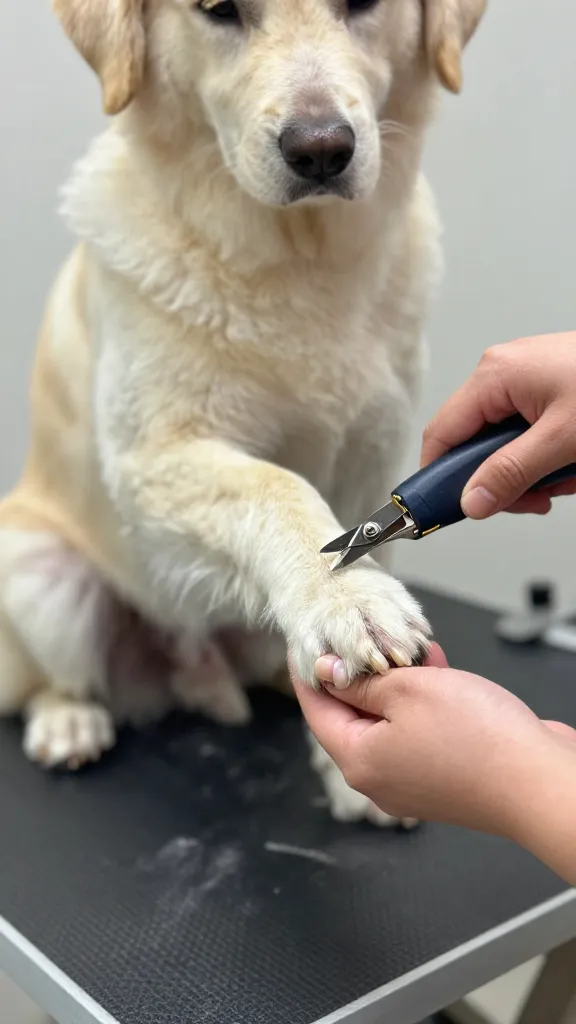
Hitting the quick causes pain, bleeding, and dramatic “I hate nails” performances. Here’s how to steer clear.
Tips to Find the Safe Zone
- Clip small increments—2-3 mm at a time
- Look for the pink quick in light-colored nails
- Skip dark nails or use a flashlight to see the quick
End result: less struggle, more confidence for both of you. Seriously.
4. The Grippy Approach: Hold Techniques That Work Every Time
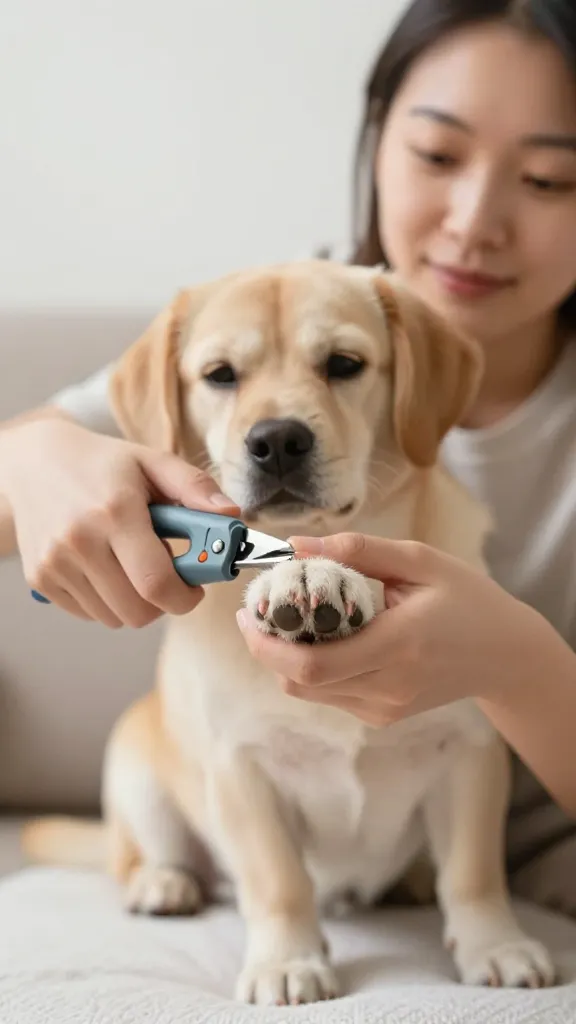
Your grip determines whether clipping ends with a victory lap or a squeaky toy catastrophe. Here’s how to hold steady.
Hold Setup
- Support the paw with your non-dominant hand
- Use a gentle, firm pinch that doesn’t crush the toe
- Keep clipper blades angled away from the paw for control
Benefits: cleaner cuts, less kickback, and a calmer pup who knows the drill.
5. Short Sessions, Big Wins: Break It Into Tiny Clips
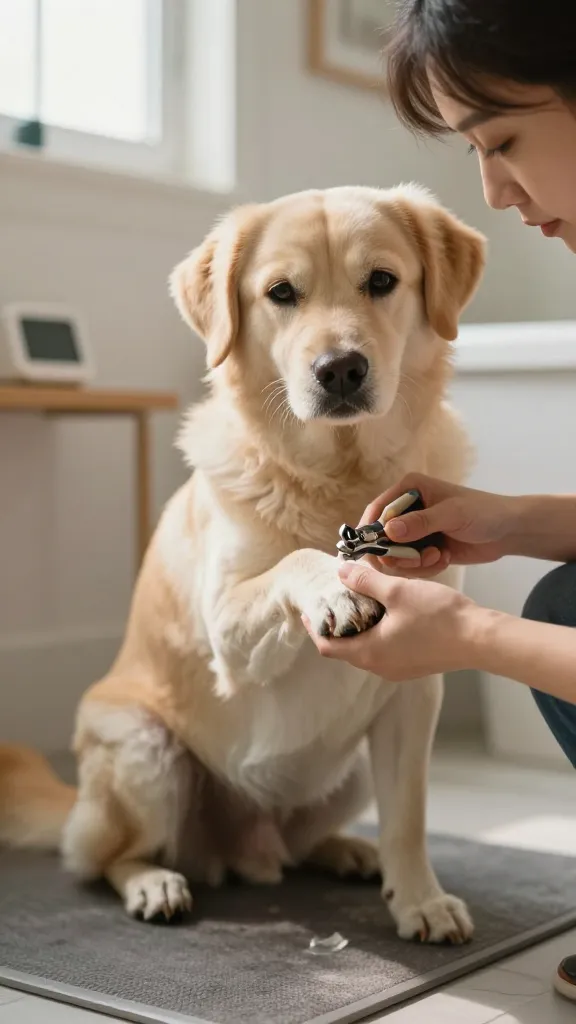
Patience pays off. Short, frequent sessions beat marathon clipping that gnaws at everyone’s nerves.
Structure
- Schedule 3-5 minute sessions
- Clip two to four nails per round
- Finish with a treat and praise
When you celebrate tiny wins, your dog associates nails with positive vibes. IMO, this is the secret sauce.
6. Finishing Touches: Smoothing and Care After Clipping
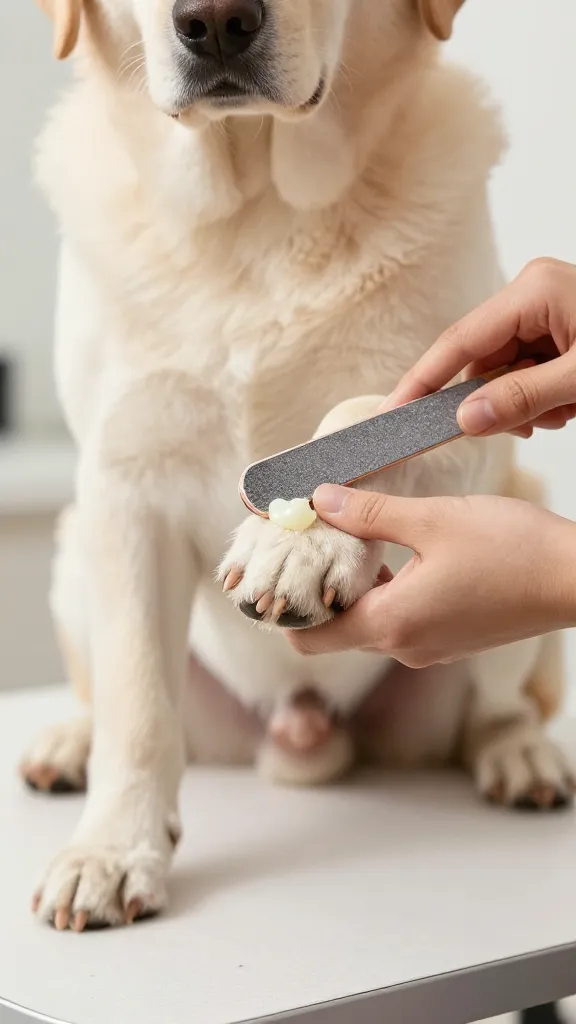
Clipping isn’t done until you smooth edges and protect the quick. Finishing refinements reduce snags and future discomfort.
Post-Clip Steps
- Lightly file any rough edges
- Apply a harmless paw balm to moisturize
- Observe for signs of sensitivity over the next 24 hours
Benefits: paws look neat, feel comfortable, and your dog isn’t sprinting to hide every time a nail clipper appears.
7. Make It a Routine: Turn Clipping Into a Positive Habit
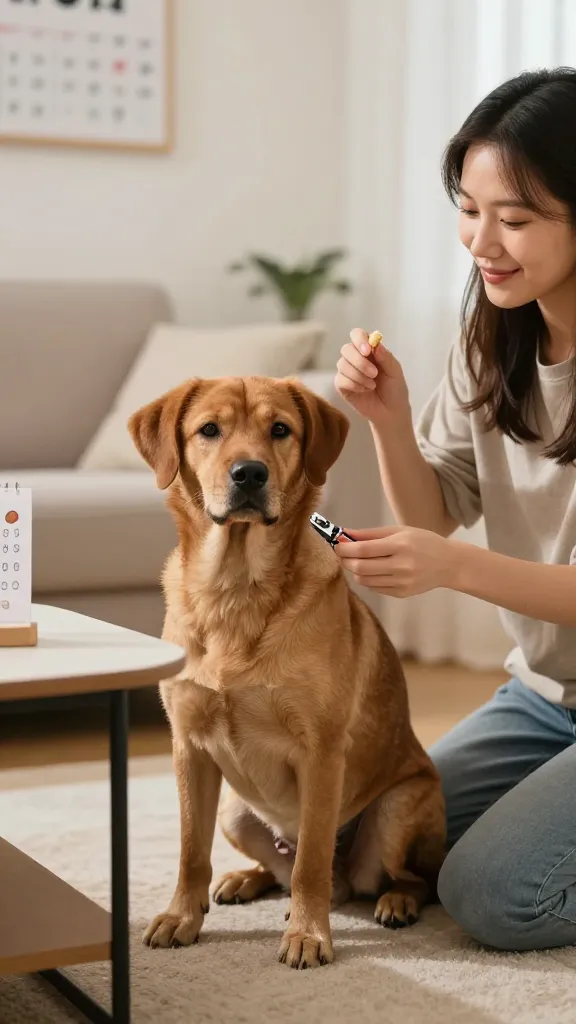
Consistency beats intensity. When clipping becomes a normal, non-event, you both win.
Routine Ideas
- Set a recurring, small-time window each week
- Rotate who clips or offers treats to keep it fresh
- Track progress with a simple sticker chart for kids or adults alike
Bottom line: predictability reduces stress and makes future sessions breezier. Seriously, you’ll thank yourself later.
Now that you’ve got seven proven tricks, you’re ready to take the dread out of dog nails. Grab your tools, set the calm stage, and go level up your home clipping game. You’ve totally got this.