6 Tips on How to Clean Ear Mites in Cats Safely
Yep, ear mites are obnoxious. But you can handle them safely at home with a little guide, a lot of care, and zero drama. Here are six practical, foolproof tips your feline sidekick will actually tolerate.
1. Spot the Signs Before You Start Cleaning
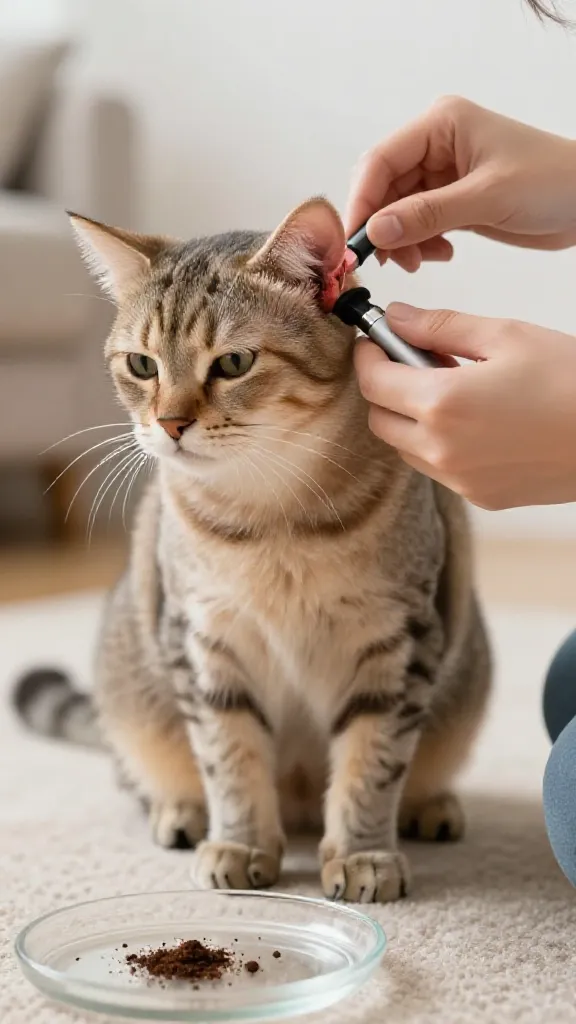
First things first: know what you’re dealing with. Ear mites cause itching, head shaking, and dark, crusty debris that looks like coffee grounds. If you’re unsure, a quick vet check is worth it—no one wants to misread a red flag and make things worse.
Key Points:
- Look for excessive scratching or tilting of the head
- Notice dark, crumbly ear debris
- Watch for strong musty smell or redness inside the ear canal
Recognizing symptoms early helps you act fast and keep your cat calm during the cleaning process. FYI, severe cases may require prescription treatments, so consult a vet if you’re uncertain about the mites’ extent.
2. Gather Your Gentle Cleaning Toolkit
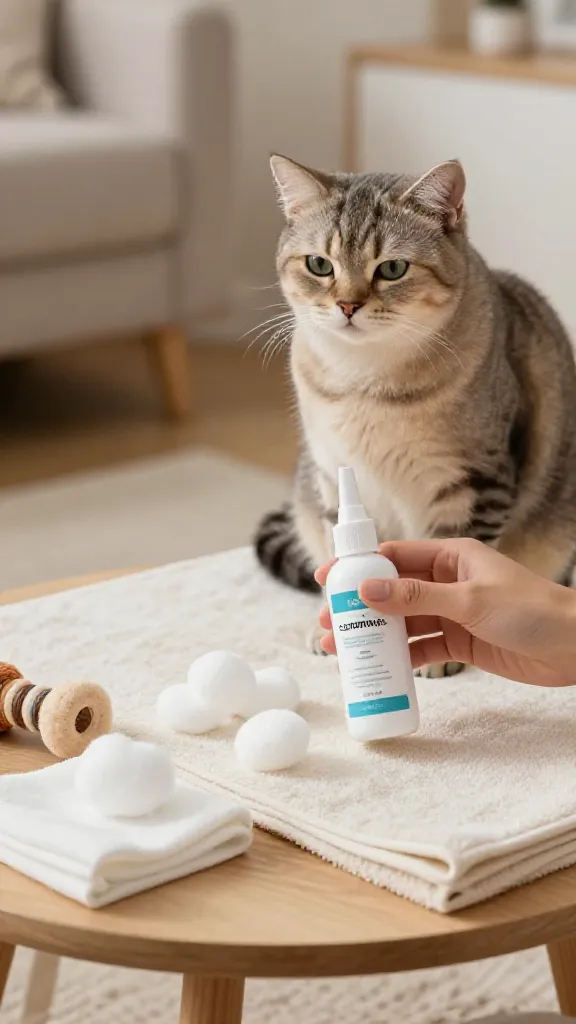
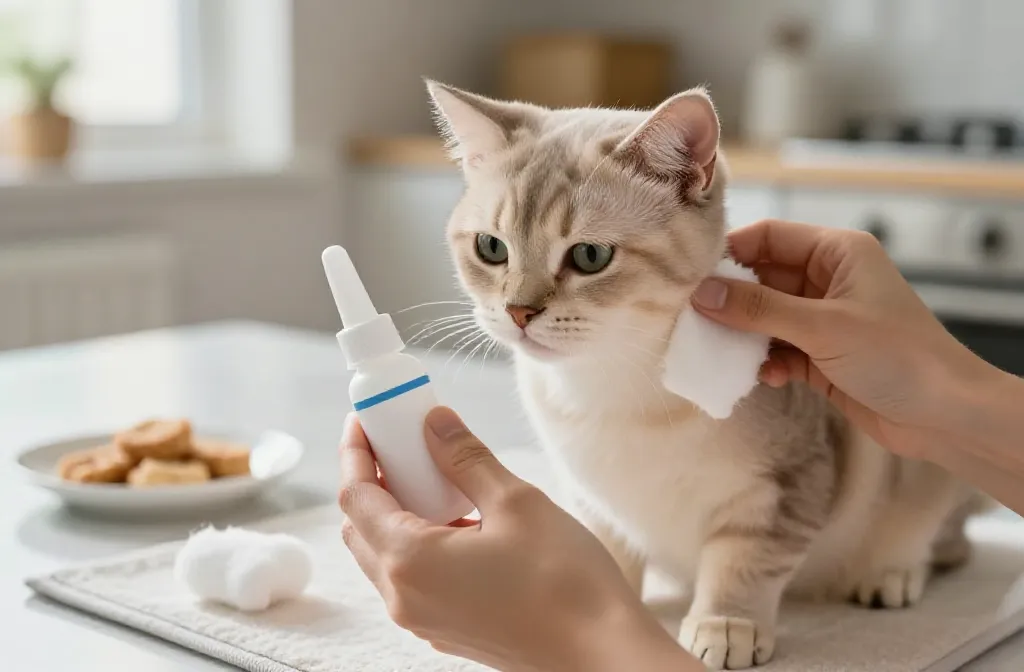
Stepping into this armed with the right tools makes all the difference. You want products designed for ear cleaning, plus a few soft touches for comfort. Trust me, this combo keeps sessions short and less stressful for everyone.
What to Have On Hand:
- Pet-safe ear cleaner (preferably a ceruminolytic formula)
- Cotton balls or gauze (never q-tips near the ear canal)
- Soft towels or a washable mat to protect your space
- Treats or a favorite toy to reward good behavior
Keep everything within reach before you begin. A calm setup helps your cat stay cooperative and reduces the chance of accidental scratches during the process.
3. Create a Calm, Safe Cleaning Ritual
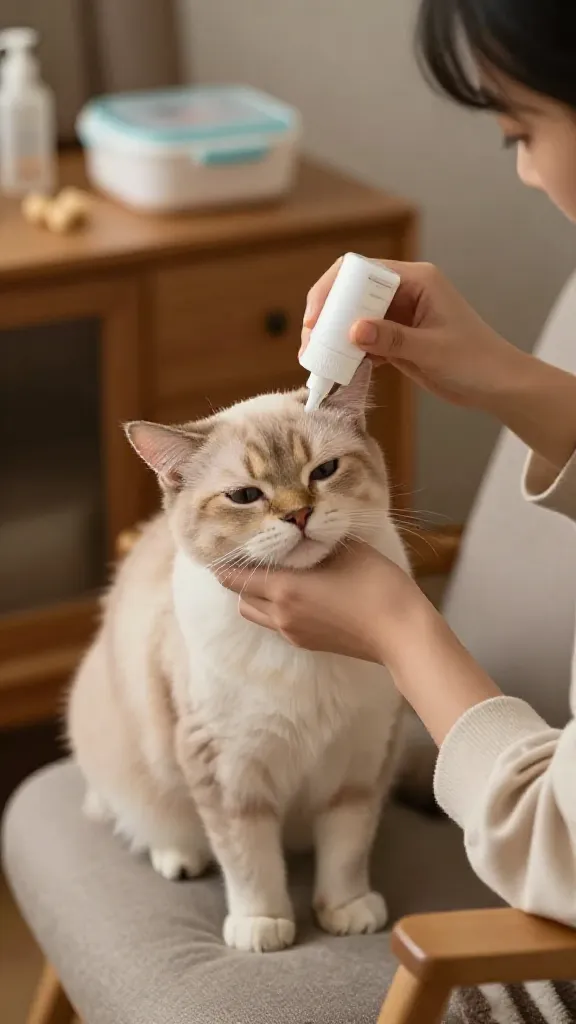
A little mood management goes a long way. Start by dimming the lights, speaking softly, and giving your cat a few minutes to sniff the cleaning kit. A relaxed cat = quicker cleanup and less drama.
Tips For Success:
- Offer a favorite treat or a cuddle before you start
- Hold your cat securely but gently, with support under the chin
- Apply cleaner warm to the touch for comfort
Use short sessions if your cat is tense. The goal is gentle, regular maintenance, not a full-blown ear spa day. Seriously, patience pays off here.
4. Apply Cleaner Correctly Without Forcing It
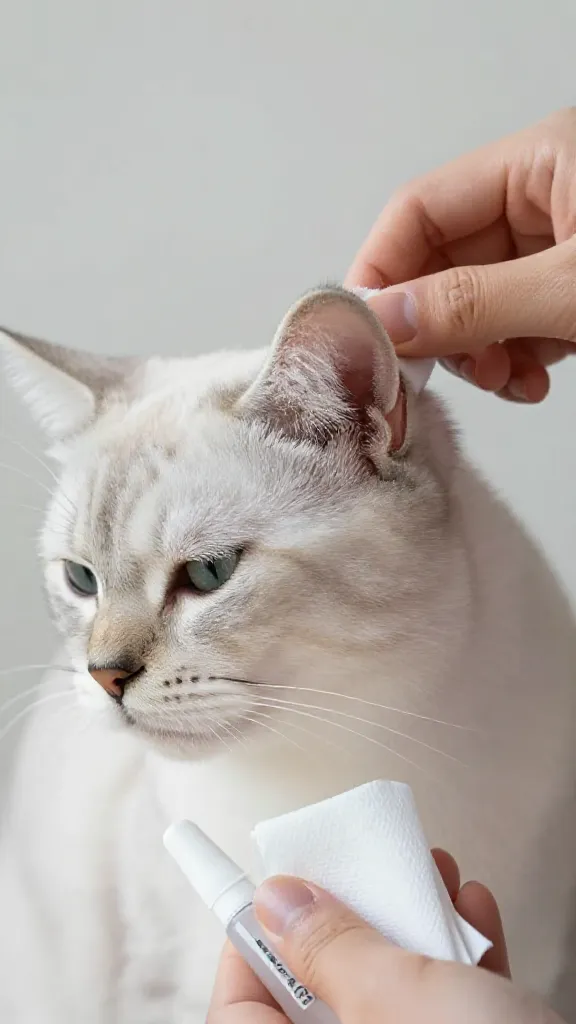
Now comes the core step. You want the cleaner to loosen debris and soothe the canal, not cause a squabble. Follow the product’s directions and avoid pushing anything into the ear canal yourself.
Simple Procedure:
- Gently lift the ear flap and apply the cleaner as directed
- Massage the base of the ear for 20-30 seconds to help loosen debris
- Wipe away loosened gunk with a soft pad or gauze
Repeat on the other ear if needed, but space out sessions to prevent irritation. If you notice redness, swelling, or a bad odor that persists, call your vet—these could be signs of infection or a different problem.
5. Use Safe Tools and Techniques to Avoid Injury
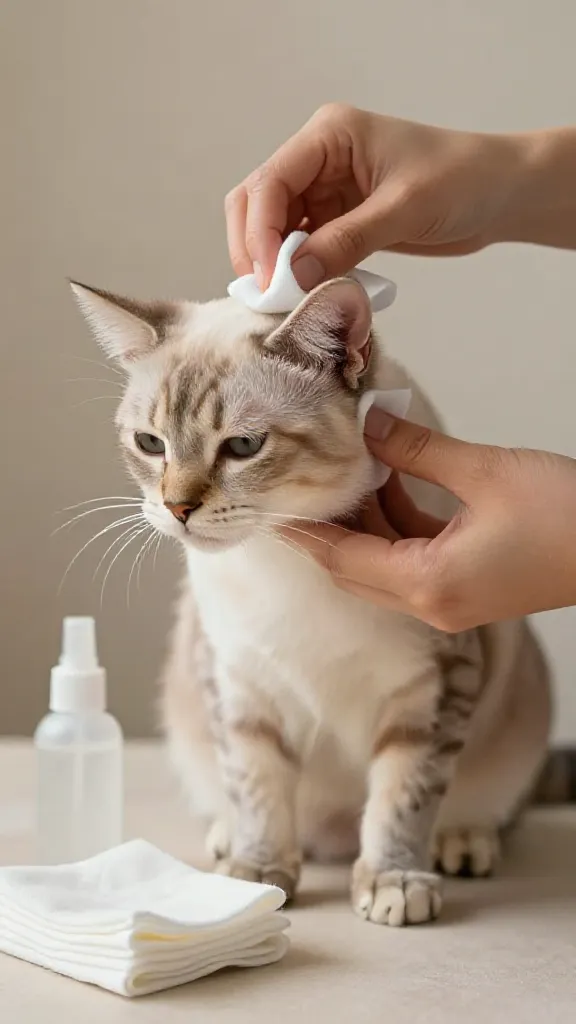
Protecting your kitty’s ears is non-negotiable. Avoid inserting anything deep into the ear canal and never rely on cotton swabs to “clean up the inside.” Those little sticks can hurt the ear or push debris further in.
Smart Practices:
- Stick to outer ears and canal openings; don’t probe deeply
- Use soft gauze or cotton balls for wiping, not rough fabrics
- If your cat is wriggly, consider soft restraint techniques or enlisting help
Maintaining a gentle touch reduces stress and minimizes the chance of accidental injuries. IMO, a calm, careful approach is always the best route—your cat will thank you with purrs later.
6. Decide When It’s Time to Seek Veterinary Help
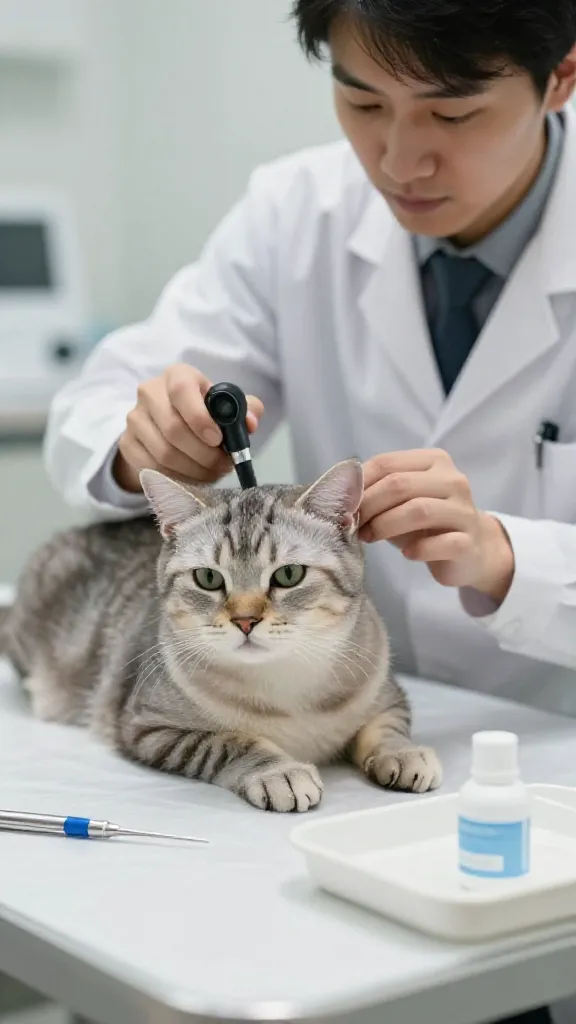
You want your cat healthy and comfortable, so know your red flags. Some cases of ear mites respond well to at-home care, while others need professional treatment or a diagnostic check for secondary infections.
When to Call the Vet:
- Debris or discharge returns after several cleanings
- Persistent itching, redness, or foul odor
- You’re unsure about how to safely proceed or the ear canal looks damaged
Vet visits aren’t a failure—they’re a smart move to safeguard your cat’s hearing and overall health. Trust me, catching issues early saves you both time and money in the long run.
By following these six steps, you can tackle ear mites with confidence, keeping your cat comfortable and your home cleaner. Remember, consistency is key, and a little patience goes a long way.
Ready to try these ideas? Get your kit, set up a cozy cleaning space, and go at your cat’s pace. You’ve got this, and your furry friend will thank you with extra head nudges and maybe a victory purr or two.