5 Tips on How to Groom a Dog with Clippers That Shine
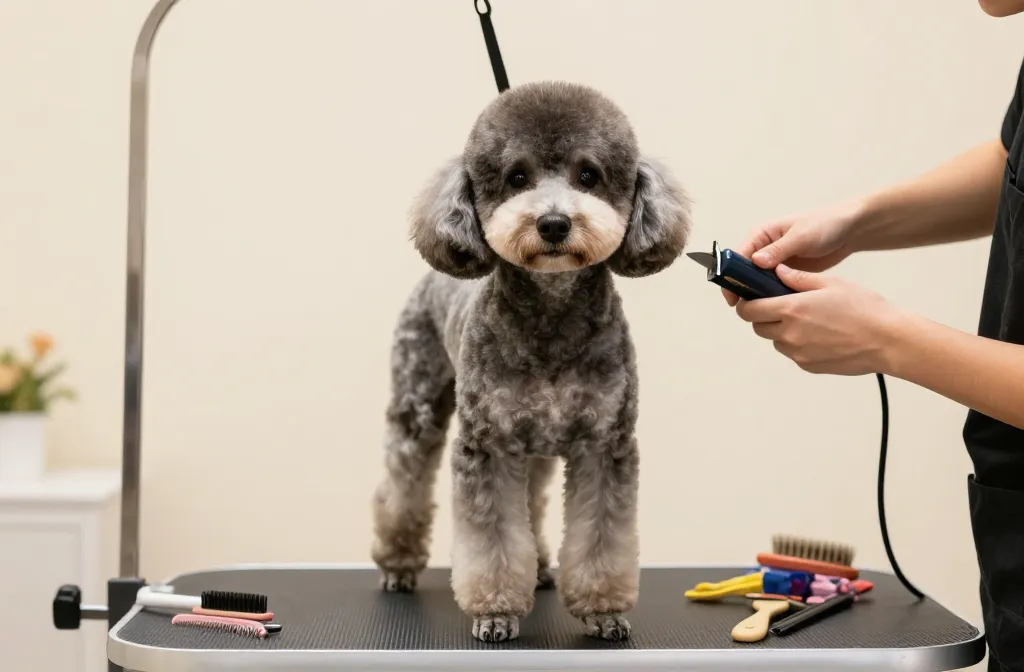
Say goodbye to shaky clippers and uneven trims. These five tips cut straight to the good stuff, helping you nail a smooth, pro-grade groom at home. Trust me, your dog will thank you with wagging tails and fewer complaints at bath time.
1. Prep Like a Pro: Set the Stage for a Calm Cut
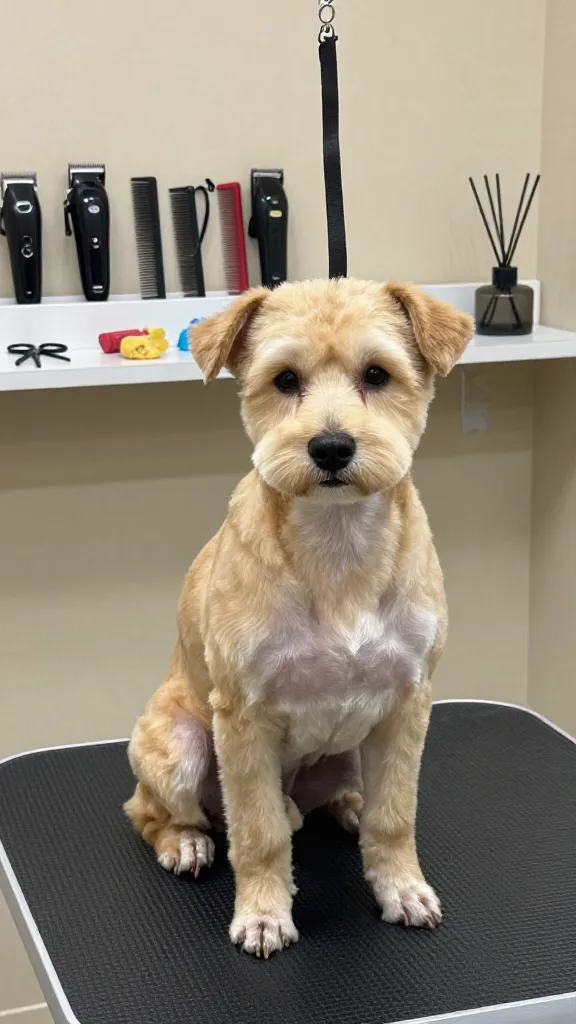
Preparation is everything. A calm dog equals clean lines and less stress for both of you. FYI, a little setup goes a long way toward a smooth grooming session.
Key Steps
- Brush thoroughly to remove mats and loose fur, especially behind the ears and under the belly.
- Gather supplies within arm’s reach: clippers, guards, combs, scissors, treats, and a non-slip mat.
- Create a quiet, cozy space with soft lighting and a familiar scent to ease anxiety.
End result: a less frantic pup, fewer tangles, and a grooming session that actually feels doable.
2. Pick the Right Guards and Settings: Start Safe, Finish Sharp
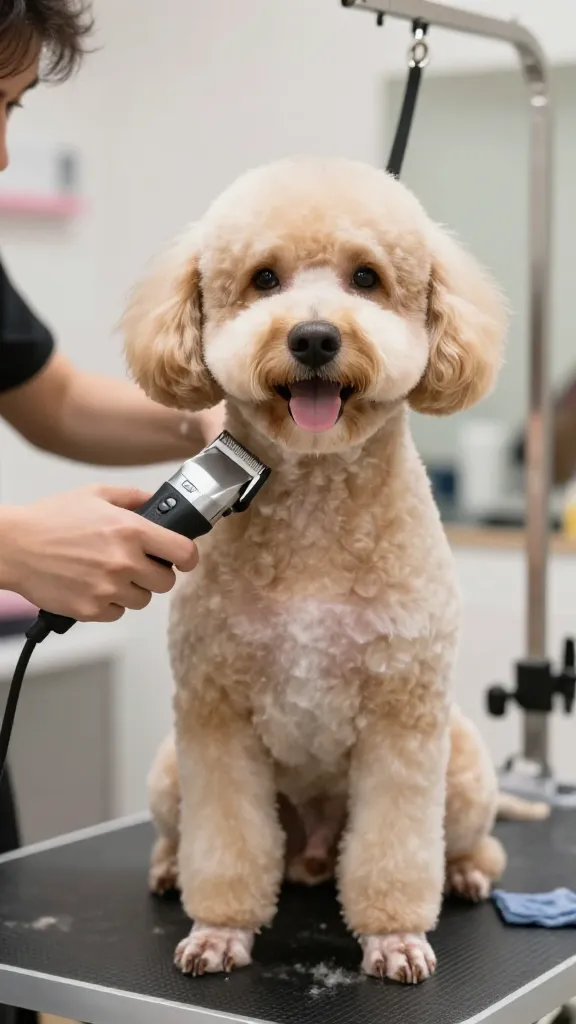
Choosing the correct guard length is the secret sauce for a balanced look. Jumping in with a too-short setting can lead to regrets (and a very clean dog). IMO, starting longer and trimming down as needed keeps you in control.
What to Know
- Start with a longer guard (like #4 or #5 for most dogs) and blend as you go.
- Use a no-slip technique by lifting the skin slightly and moving with steady passes.
- Check the clipper temperature; if it’s hot, pause and rub your dog’s coat with a cool cloth.
Benefit: you avoid awkward patches and get a well-blended coat that looks professionally done.
3. Master the Blending Trick: From Face to Fuzz
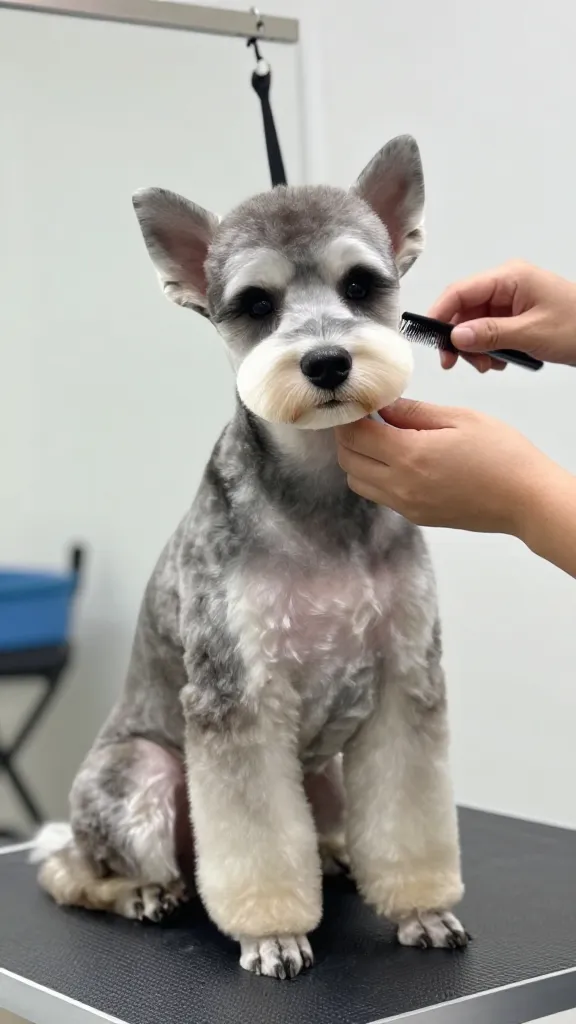
Blending is where the magic happens. A sharp transition between clipped areas and natural fur makes the whole groom look intentional rather than DIY-funky.
How to Blend Like a Boss
- Use a tapering technique: short on the sides, longer on the top, with gentle transitions.
- Work in small sections—jawline, neck, chest—to prevent stair-steps in the coat.
- Run a comb through as you go to guide the clipper and catch stray hairs.
Tip: keep sessions short if your pup isn’t a seasoned pro. Short bursts beat a frustrated dog every time.
4. Focus on the Finish: Clean Lines Without the Drama
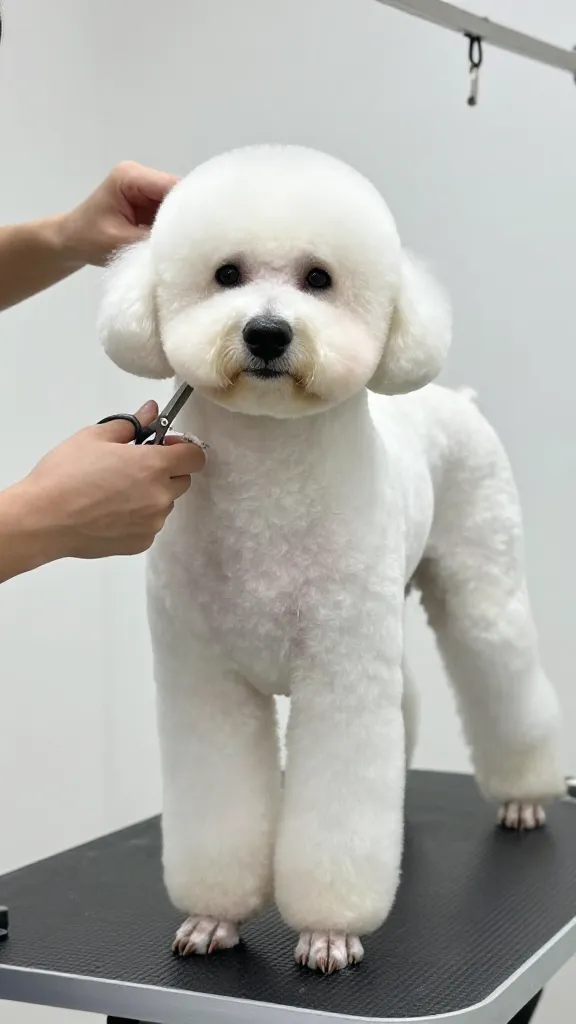
The finish shows you cared. Clean lines around the paws, feet, and sanitary areas make a big difference in overall appearance.
Finishing Details to Nail
- Carefully trim around the paw pads and between the toes for a neat look.
- Use a scissor to tidy up any stray long hairs that the clipper missed—precision matters.
- Wipe the coat with a damp cloth to remove hairs and reduce shedding during the next wash.
Endnote: a crisp finish can make even a simple trim look polished and intentional.
5. Safety, Comfort, and Aftercare: Grooming That Feels Like a Spa Day
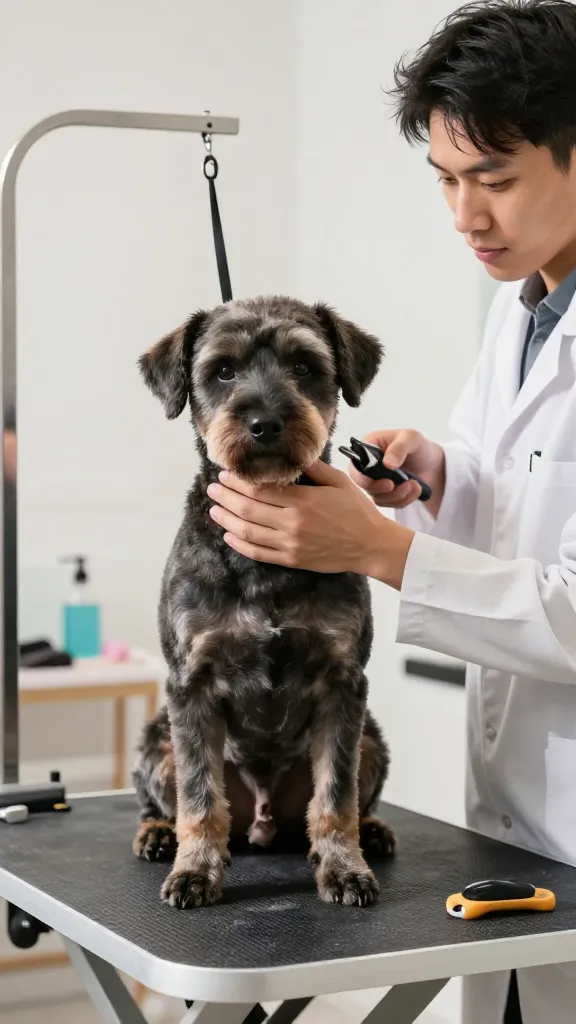
Safety isn’t optional—it’s mandatory. Combine comfort with practical aftercare to keep grooming a positive experience for you and your dog.
Safety & Comfort Tips
- Always check for sensitive skin areas and avoid clipping too close over elbows, joints, and the belly.
- Take breaks to reward good behavior with treats and praise—positive vibes go a long way.
- Clean and oil your clippers after use to extend their life and performance.
Bonus: regular brushing between grooms and a proper bath schedule keep coats healthy and manageable.
Ready to give these tips a try? Grab some treats, set up your grooming station, and dive in—your dog’s new look is just a few careful passes away. Seriously, you’ve got this!