5 Dog Ear Cleaning Tips for Healthy Ears: Easy at-Home Wins
If your pup’s ears are a little icky or they’re tugging at them, you’re in the right spot. These tips are simple, effective, and totally doable at home. Let’s get those ears sparkling and comfy again—FYI, your dog will thank you with extra snuggles.
1. Start with a Gentle Cleaning Routine That Builds Trust
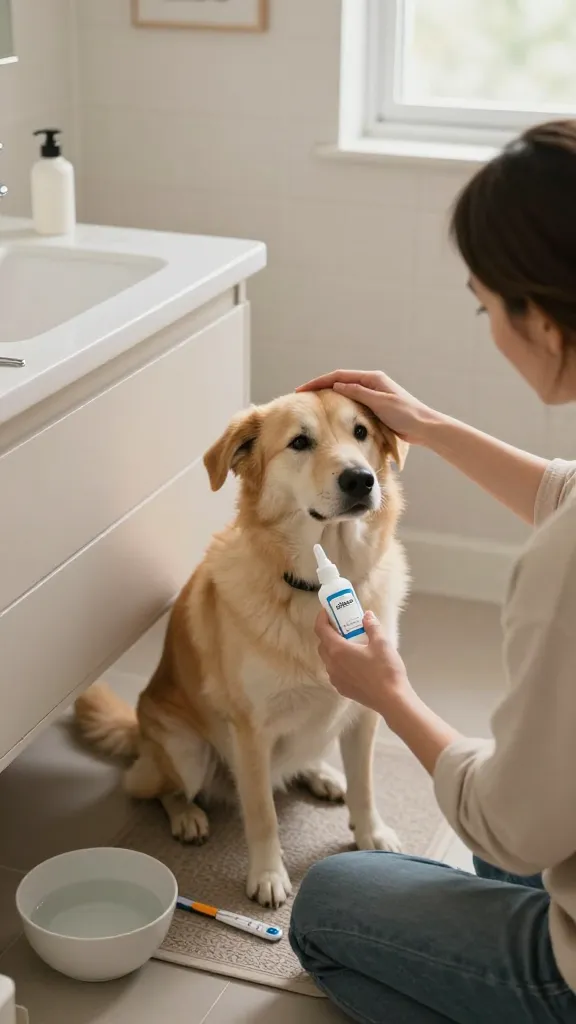
This isn’t about blasting them with solution and hoping for the best. A calm, predictable routine makes ears less scary and more manageable. Your dog will start to relax, and you’ll both win.
Key Points:
- Choose a veterinarian-approved canine ear cleaner
- Use lukewarm solution, never hot
- Keep tools within reach and stay patient
Begin with a quick, reassuring pat and speak in a soft voice. Short, weekly sessions beat long, stressful cleanings. Trust builds over time, and cleaning becomes a non-event, not a battle.
2. Learn the Right Technique: Gentle Insertion, Gentle Mindset
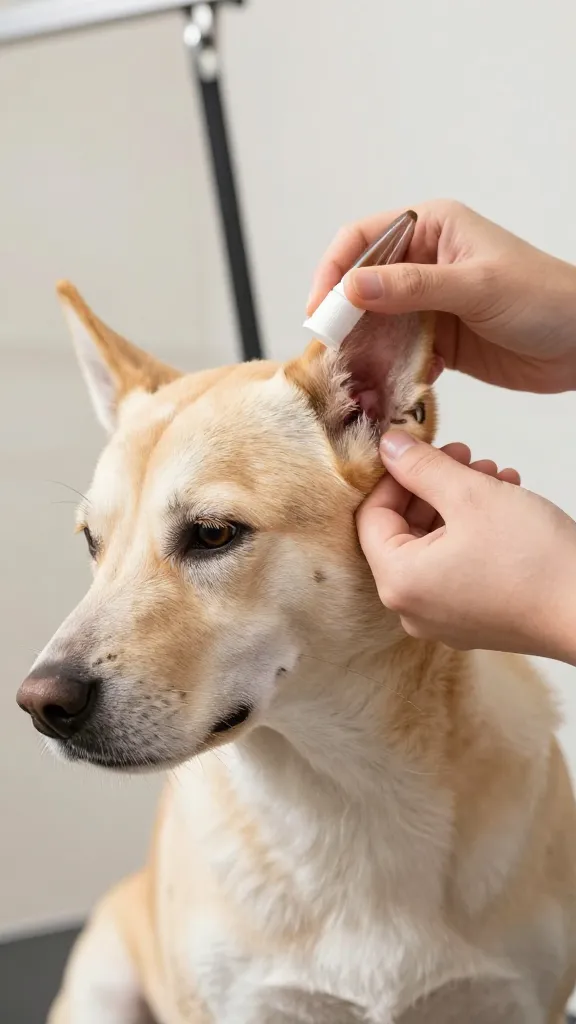
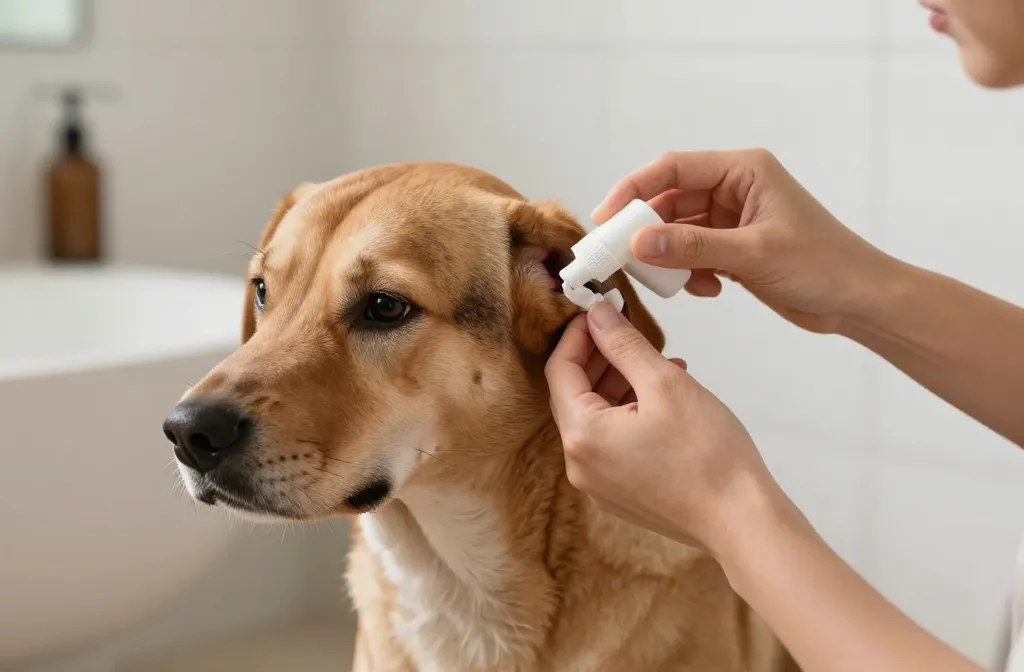
Technique matters as much as products. You want to loosen wax and debris without hurting the ear canal. A calm approach makes all the difference for your pup’s comfort.
Tips:
- Tilt the head slightly to expose the ear canal
- Apply cleaner along the inner ear canal, not deep into the ear
- Massage the base of the ear for a few seconds to loosen debris
Wiggle-free patience wins here. If you hear crunching or see red flags, pause and call your vet. Seriously, your dog’s ears deserve careful handling, not DIY chaos.
3. Dry Ears Thoroughly to Prevent Odor and Infections

Moisture left behind can turn into a swampy environment where bacteria and yeast thrive. Dry ears after cleaning to keep them comfy and healthy.
What to Do:
- Gently blot with a clean, soft cloth or cotton ball
- Avoid cotton swabs deep in the canal unless directed by a vet
- Use a few drops of drying or antiseptic solution only if recommended
Patience plus gentle drying reduces moisture dramatically. FYI, a quick dry session after baths is a superhero move for ear health. Trust me, no one wants a soggy ear flap inviting trouble.
4. Watch for Signs That It’s Time to Visit the Vet
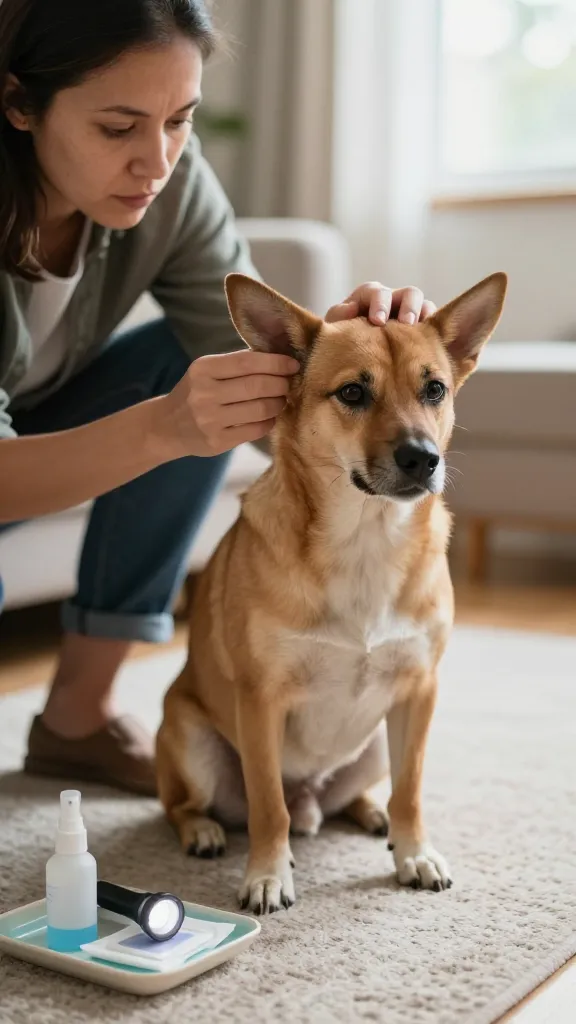
Not every ear issue is fixable with a spray and a wipe. Some signs require professional eyes on the problem to prevent bigger problems down the line.
Red Flags to Note:
- Persistent redness, swelling, or warmth
- Discharge with a foul smell or unusual color
- Excessive head shaking, scratching, or pain during touching
If you notice any of these, schedule a vet visit sooner rather than later. A quick check can save hours of misery and costly fixes later. IMO, it’s always better to be safe than sorry.
5. Build a Simple, Safe Kit You’ll Actually Use

Having the right tools at hand makes ear care feel like a breeze rather than a chore. Create a little go-to kit that you’re excited to use, not dreading.
What to Include:
- Veterinarian-approved canine ear cleaner
- Soft cloths or cotton balls (not cotton swabs deep in the canal)
- A small towel for positioning and comfort
- Treats for positive reinforcement after each session
With a dedicated kit, you both win: consistency for your dog and predictable routine for you. Seriously, a few minutes can prevent weeks of ear drama.
Ready to put these tips into action? Remember, consistency and a gentle touch turn ear care into a bonding moment instead of a battle. You’ll likely see happier ears and a happier pup in no time.